In the realm of messaging applications, GBWhatsApp, often referred to as GB WhatsApp, emerges as a dynamic and feature-rich alternative to the official WhatsApp. Developed by passionate enthusiasts, GB WhatsApp goes beyond the standard functionalities, offering users a unique and enhanced messaging experience. In this article, we’ll explore the key features of GBWhatsApp, showcasing its distinct advantages over the official WhatsApp.
Introduction
GBWhatsApp has garnered attention as a modified version of WhatsApp, tailored to provide users with additional features and customization options. Let’s delve into the standout features that define GBWhatsApp and set it apart from its official counterpart.
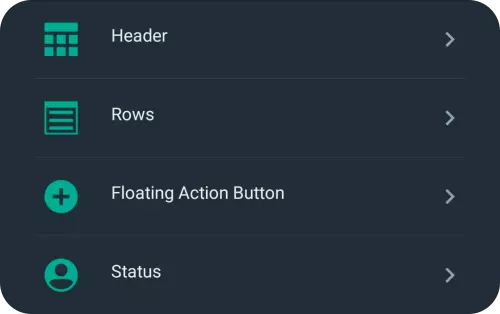
Key Features of GBWhatsApp
1. Advanced Customization Options
GBWhatsApp empowers users with advanced customization features, enabling them to tailor the app’s appearance to their liking. This includes themes, fonts, and color schemes, providing a personalized touch to the messaging experience.
Example: “GBWhatsApp distinguishes itself through its advanced customization options, allowing users to personalize themes, fonts, and colors, fostering a truly unique and personalized messaging environment.”
2. Enhanced Privacy Settings
Privacy is paramount, and GBWhatsApp addresses this by providing extensive privacy settings. Users have control over their online status visibility, the ability to hide blue ticks, and manage the display of the typing indicator.
Example: “GBWhatsApp prioritizes user privacy, offering a range of settings to control online presence and interactions, a level of control absent in the official WhatsApp.”
3. Media Sharing Without Limits
GBWhatsApp liberates users from traditional media-sharing constraints. It supports larger file sizes, facilitating the sharing of high-quality photos and extended videos without compression.
Example: “Bid farewell to file size limitations. GBWhatsApp allows users to share media in its original quality, providing a seamless experience for sharing memorable photos and videos.”
Comparative Analysis: GBWhatsApp vs. Official WhatsApp
Let’s delve into a detailed comparison between GBWhatsApp and the official WhatsApp to highlight the distinctions in functionality and user experience.
| Feature Categories | GBWhatsApp | Official WhatsApp |
|---|---|---|
| Customization | Advanced customization options for themes, fonts, and colors. | Limited customization options. |
| Privacy Settings | Extensive privacy settings for online status, blue ticks, and typing indicator. | Basic privacy settings available. |
| Media Sharing Limits | Increased file size limits for high-quality media sharing. | Strict file size limits for photos/videos. |
| Multiple Accounts | Supports the use of two WhatsApp accounts on the same device. | Officially supports one account/device. |
| Message Scheduling | Allows users to schedule messages for automatic delivery. | Official WhatsApp lacks built-in scheduling. |
| Security Features | Various security features, including app lock options. | Standard security features. |
Note: The table provides a comprehensive comparative analysis of key features between GBWhatsApp and the official WhatsApp.
Visual Showcase: GBWhatsApp in Action
Customization Showcase
Caption: GBWhatsApp’s customizable themes, fonts, and color schemes.
Privacy Settings Dashboard
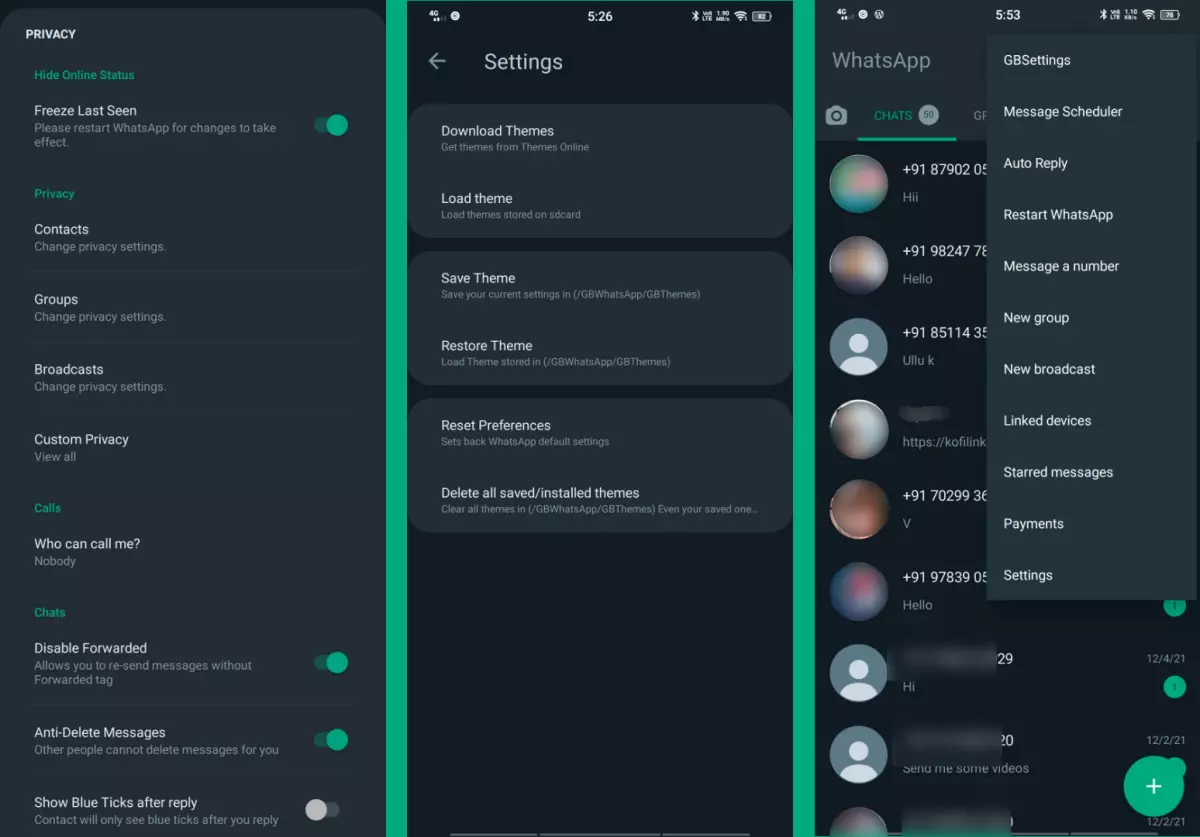
Caption: GBWhatsApp’s comprehensive privacy settings for ultimate user control.
Media Sharing Revolution
Caption: GBWhatsApp’s increased file size limits redefine media-sharing capabilities.
Conclusion
In conclusion, GBWhatsApp stands as a testament to innovation in messaging applications, providing users with a feature-rich and customizable platform. While it introduces novel functionalities, users should exercise caution due to its unofficial nature. GBWhatsApp exemplifies the evolving landscape of messaging apps, catering to users seeking a more personalized and dynamic communication experience.